Create a structured approach to managing your Personalized Flyers by organizing them into categories. These categories will then be displayed as tabs, allowing for easier navigation and selection based on specific themes or purposes.

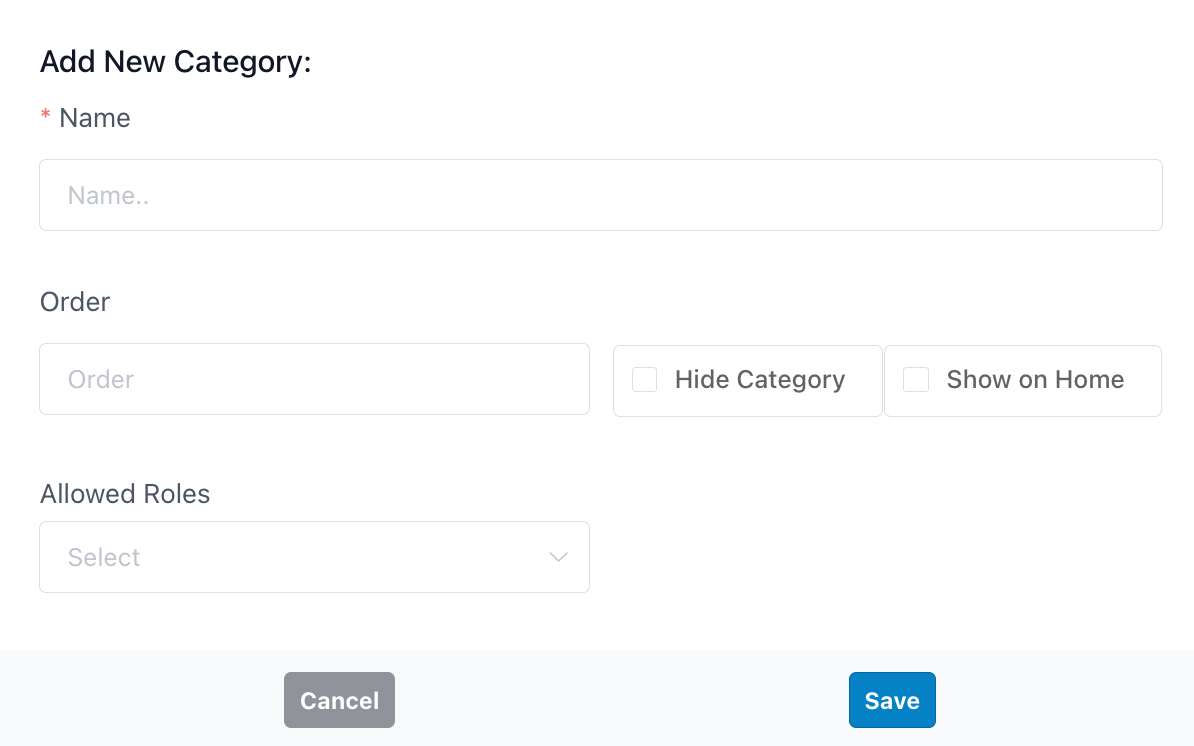
Ensure you set permissions for who can view each category in your Personalized Flyers gallery. This feature allows you to tailor category visibility to specific company roles as necessary, enabling precise control over who accesses different content segments.
To add a new flyer, click on New Flyer button in the top right.
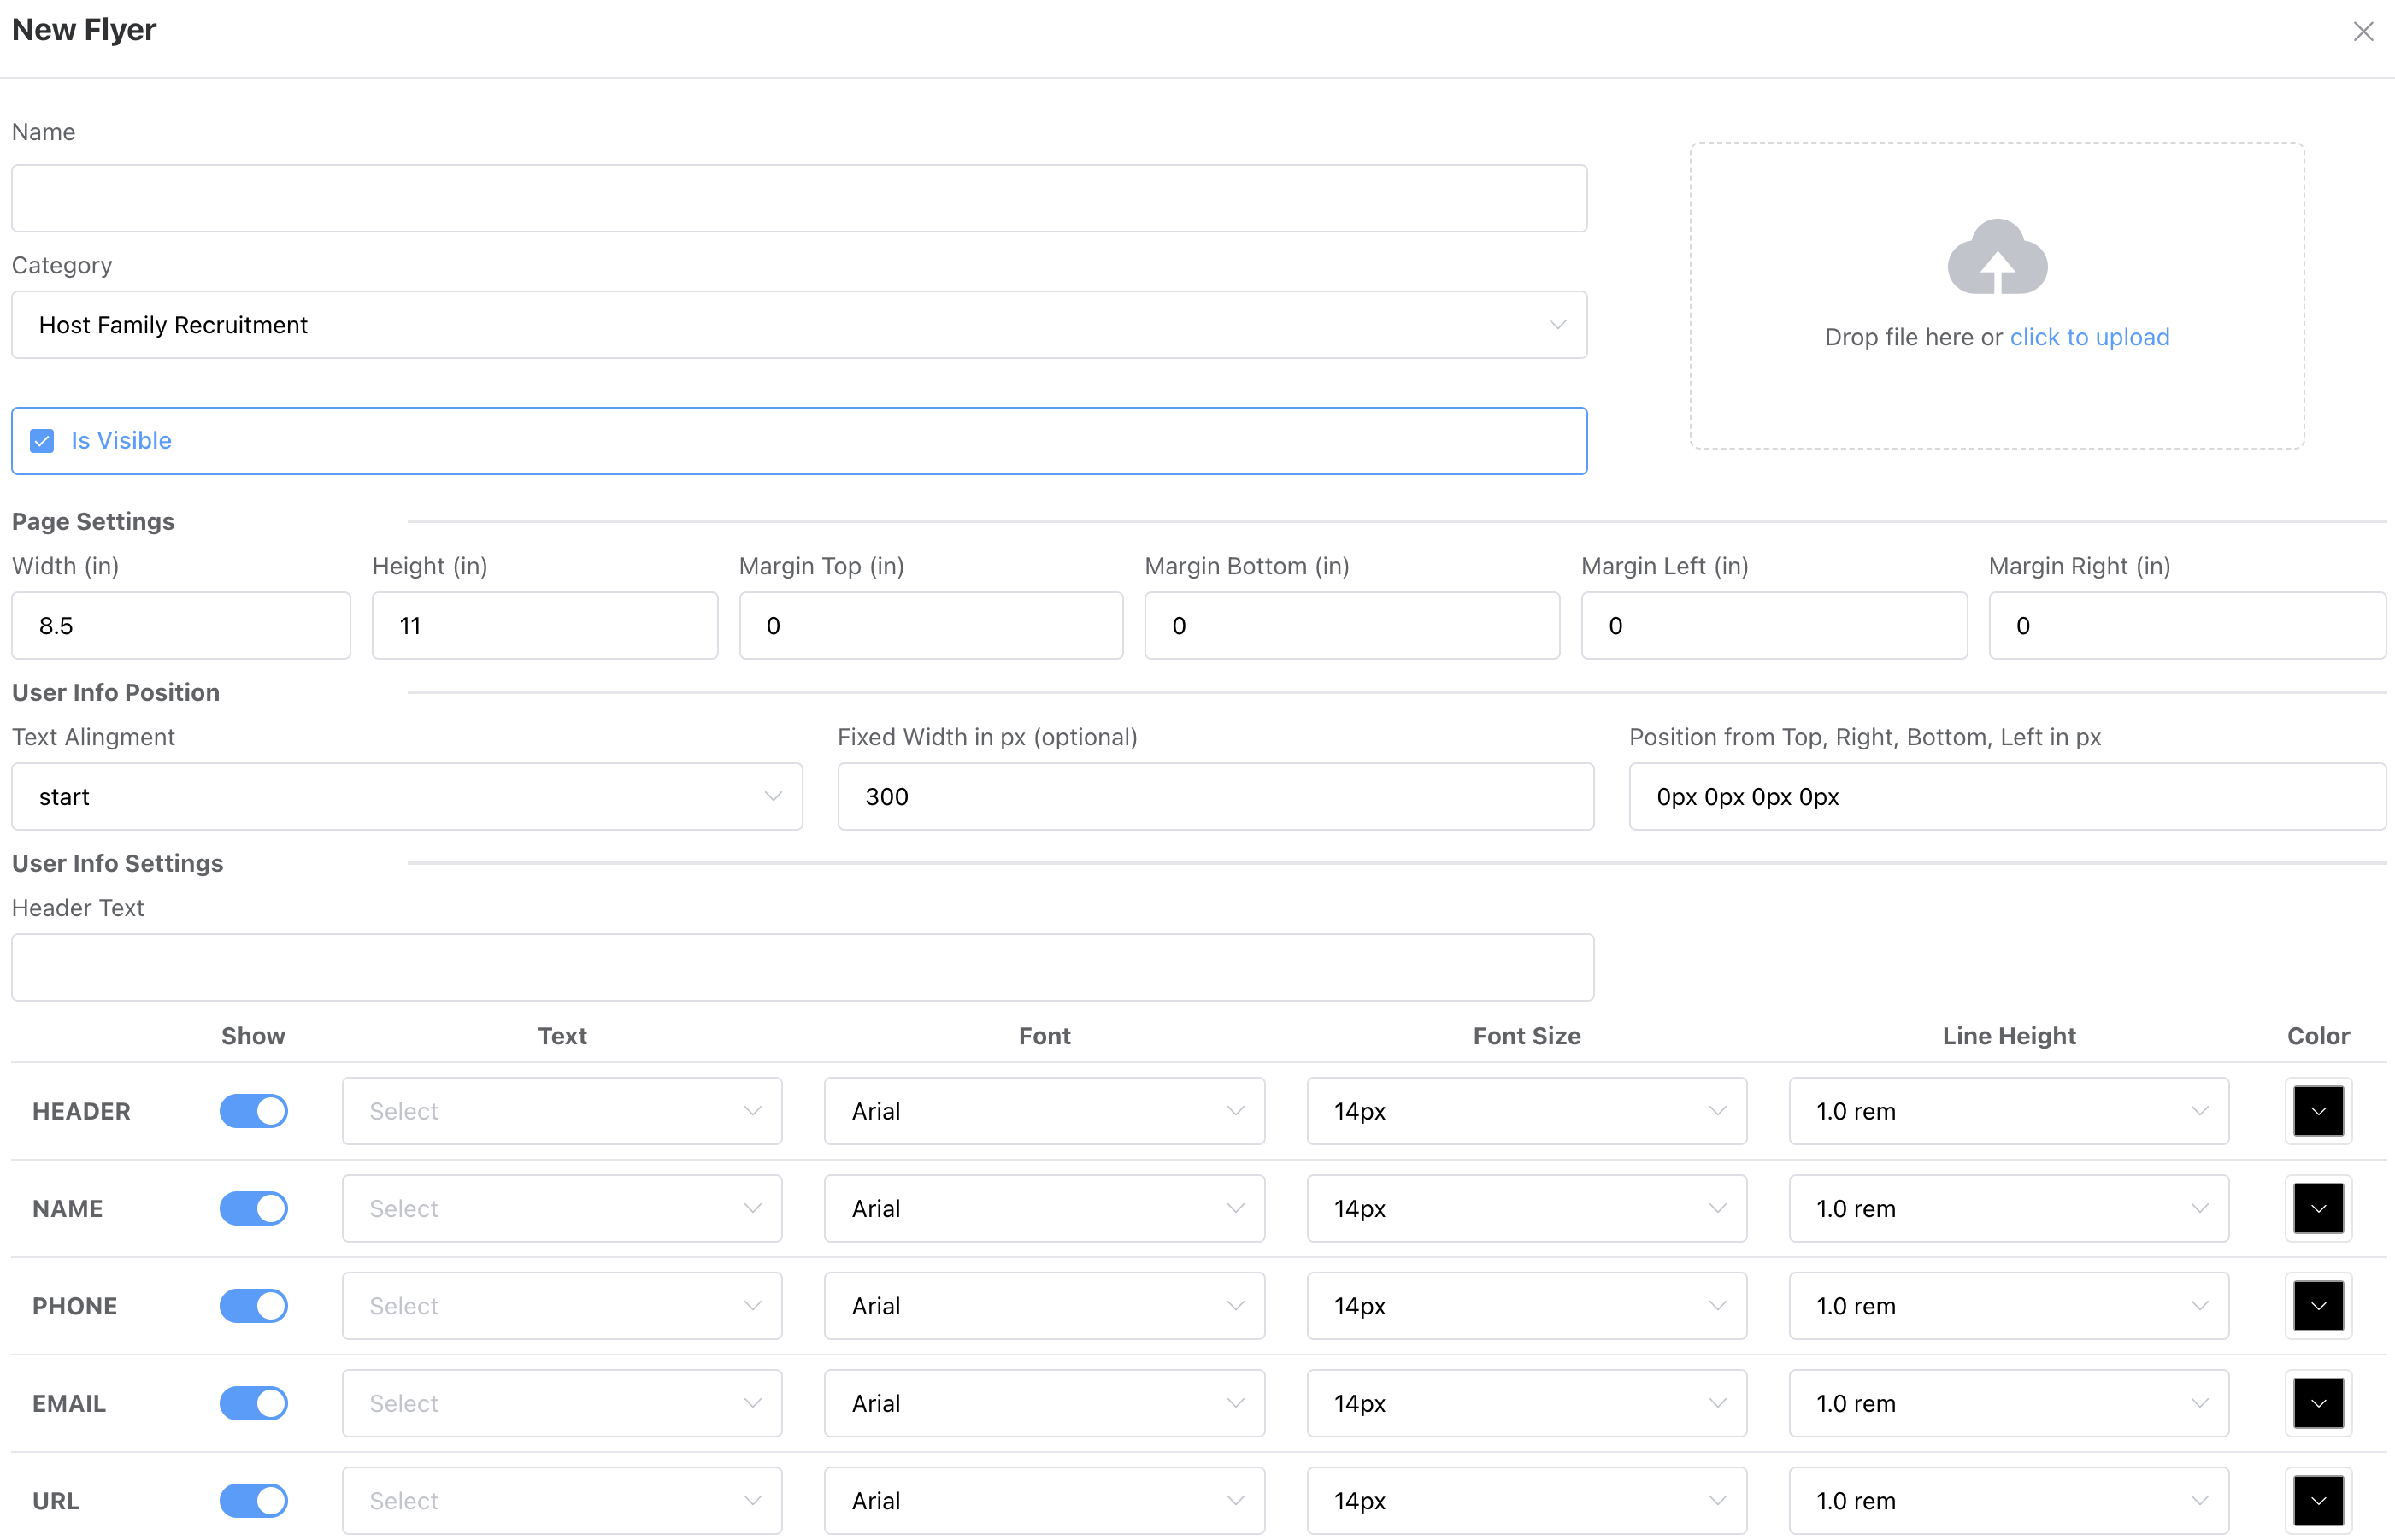
Adding a new flyer involves uploading a background image and then specifying the placement and content of user information on the flyer. You must decide which information to include and configure the formatting settings for how this information will be displayed, ensuring that the personalization aligns with the flyer's design and intended message.
For efficient flyer creation, using a template ensures consistent placement of user information. To replicate a design, utilize the "Duplicate" function by clicking the "Edit" (blue pencil) button on an existing flyer. This method simplifies the process of generating new flyers while maintaining design consistency.

